

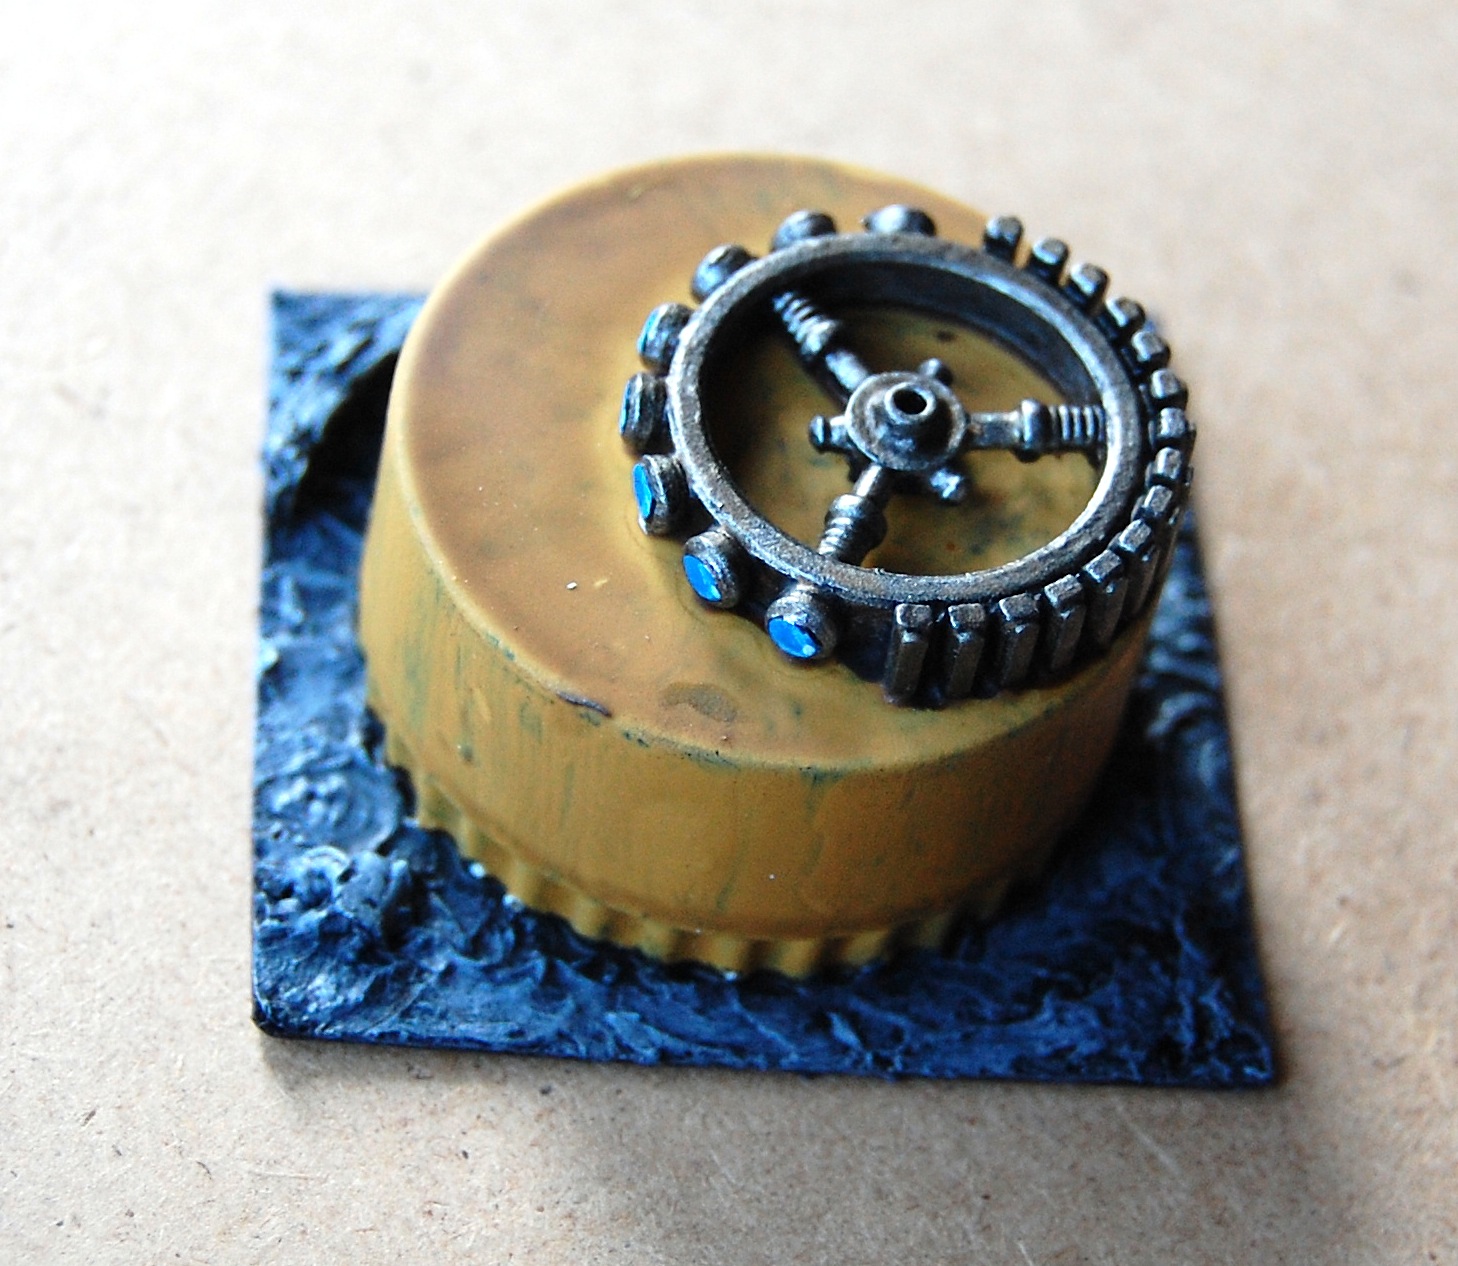
 First up, we have a small building made from a pencil sharpener and a broken part from the Critical Mass objective marker from the last post.
As with the objective marker itself, I painted on the yellow paint extremely thickly with a very small brush to get that streak effect I'm so found of.
In retrospect, basing this terrain piece individually was probably a bad idea. I'm working on a large power plant building (using a polystyrene hemisphere as a centre piece) which is going to have a rather large base with plenty of empty space to place removable civilian vehicles, smaller utility buildings and the like. If I'd left the base off, I'd have a lot more options with regards to where to place this terrain piece on the occasions I use it as part of the larger complex.
And a second reason I'm not so keen on the base: it's far too thin. I only used two layers of cardboard for this base as opposed to my more usual four.

I'm not too happy with the hazard lines at the bottom, but they were the best "parallel" lines I could manage in the time available.


I made three of these from one sheet costing about seven pounds. I still have enough left over to make some "repair patches" and even some sheet metal fencing. So not a bad deal really. I just wish the material was a little bit stronger. I've considered reinforcing it with cocktail sticks and the like, but that would mean gluing on the roofs as the interior wouldn't look right.
Anyway, tomorrow a photo and stats of my WH40K Rogue Trader Navigator figure in 28mm and 15mm scales. After that, well, I'm working on some Tau Fire Warrior conversions for my 15mm GZG New Israeli miniatures. The white metal doesn't show up very well in photographs but I'll have pictures put up as soon as they're painted.
No comments:
Post a Comment